Pinterest

Showing posts with label chives. Show all posts

Tuesday, May 28, 2013

Why You Need to Grow Chives


Chives...kids seem to love them.  Maybe because it's like eating grass except it tastes better. I'm not sure what it is, but I know our boys liked them and my seven year old nephew loves them too.  It's the one of the herbs you can eat right away like a food, unlike some of the stronger flavored herbs.  After eating them outside, I would send the boys over to the parsley patch and have them eat a few leaves to help kill the onion odor.  I called it the "parsley chaser."

And if you enjoy onions; you'll really like chives.  These hollow tubes of onion-ness are sure to please the gourmet in all of us.  Here are a few reasons why you'll want to include them in your herbal garden...
 

1. Chives are Ridiculously Easy to Grow.  
I personally think this is always a great reason to grow something.  If it's easy and grows well, it makes us look like a garden genius (which is always good!)  Seriously, it is easy to grow and virtually maintenance-free.  It's equally easy to grow by seed or by division.  I've done both.  If you don't dead-head the flowers, you'll have lots of chive seeds and new plants next year.  When you do plant them, it's good to give them some space to spread out because they will.  Not obnoxiously, but will reliably spread over time. 

 Buy seeds at the store or online.  Find the plants at a nursery, or better yet from a friend.  Plant the herbs or sow the seeds in a sunny location or part shade (although I have some in quite a bit of shade and they still do well) and water when needed.  You can also start the seeds indoors earlier if you want.  Chives grow to about 12 inches in height and you will want to think about dividing them every 3-4 years to prevent any root disease.  I have to be honest in saying I have never divided one patch and my container plant I only transplanted twice and haven't had any problems....these little guys are hardy.


2. They Make Excellent Container Plants. 
 I have a large pot of chives right outside my side door.  What makes this great is that they are a few steps away when I'm cooking.  I don't have to weed them, feed them, or baby them.  They are perfectly happy in their little home.  I started with a medium sized garden pot, probably a 12 inch and moved up to the next size (transplanted) some years later when I could tell they were very pot bound.  

When you want to harvest them, just grab a handful of them and cut them close to the roots.  I leave about a half inch to an inch behind.  They will quickly regrow in no time.  In fact, it's reinvigorates them when they are harvested so don't be shy about using them...they like it.


3. They Grow Beautiful Flowers.
Even if you don't like onions or chives, they are so worth growing for the purple flowers in spring.  I have a large stand of them in my front yard and I absolutely love them.  The bees love them too...another eco-bonus for your landscape.  As a matter of fact, there are different alliums which are grown entirely for their flower.  I know because I've bought them over the years.  Having an edible landscape/flower garden is a win-win idea. Let these flowers dry on the plant to collect the small black seeds.  They are small but easily recognizable.  You can use these seeds to start new plants indoors over the fall.  Chives need a dormancy period so it's best to grow new plants for winter as your summer grown plants will need the winter to rest.  

I love to use the flowers in salads and as garnishes by pulling apart the individual florets.  You can also make Chive Blossom Vinegar with them and use the vinegar for salad dressings and marinades.  
 

4. Chives Do Have Some Surprising Health Benefits!                                                                 
These little onions are called alliums because they contain "allicin" the compound that garlicand regular onions are known for.  Allicin is known to help reduce cholesterol and also is known for its anti-bacterial, anti-viral and anti-fungal properties. 

Chives also contain more Vitamin A than any other allium relative."100 g of fresh leaves contain 4353 IU of vitamin-A or 145% of daily recommended levels." 1     

                                                   
" In addition, the green leaves contain
other flavonoid-phenolic antioxidants such as carotenes, zea-xanthin, and lutein. Together, these compounds offer the human body protect from lung and oral cavity cancers." 2  


These little strands of green goodness really pack a punch when it comes to flavor AND health benefits.  Not too shabby for this modest and easy to grow perennial herb you're sure to enjoy.

How do you use Chives?

Use the leaves of this plant by harvesting and chopping them into small pieces.  I use chives to top every meal I make including soups and stews.  They lose their flavor with cooking so it's best to use them fresh at all times.  They also don't dry well.  I've found the best way to preserve them is by making them into an herb butter.  All you need is a stick of softened butter and chopped chives.  Add as many or as little as you like.  Stir to combine well and shape into a roll on a piece of waxed paper, roll to close tightly, wrap in plastic and freeze in an airtight container.  When using, let the log thaw gently and cut into little coins to serve.  Yum...delicious! 

That's all folks.  Chives...an herbal garden hero.  Blessings!


References:
1.http://www.nutrition-and-you.com/chives.html
2. Ibid.
Additional Source:
http://www.livestrong.com/article/407900-health-benefits-of-chives/

Linked to these amazing blog parties...
Frugal Days, Sustainable Ways
Seasonal Celebration Wednesday
Monday's Homestead Barn Hop
Farmgirl Friday Blog Hop


Thursday, May 24, 2012

Making Chive Blossom Vinegar...


Chives are some of the easiest herbs to grow.  I have a large pot of them next to my side door and also a large planting alongside the front of our house.  They come back year after year, AND even if you never use them, the flowers they put off are worth the growing.  But, did you know you can use these beautiful globes of onion-y goodness to make a super simple salad staple?
Remember those fancy herb vinegars which were so popular some years ago?  Well, they really are so easy to make and great to use as well.  I love to make my own salad dressings and by using an herbal vinegar, I get instant flavor for my dressings. I also use these as a marinade for chicken.  Plus, these make great gift giveaways as well...just remember to include a recipe!


Here's all you need...vinegar, preferably white wine or I'm using rice vinegar here.  Wine vinegar is not harsh like plain white vinegar and makes a far superior vinegar.  If you use white wine (as opposed to red wine) vinegar, you'll end up with a beautiful shade of pink. I actually used 2 and a half bottles of this size bottle of vinegar, it will vary depending on the size of your container. So worth it.  Save the red wine vinegar for basil, oregano and thyme. 

You'll also need a clean,dry and empty jar with a plastic, non-corrosive lid. The jar needs to be super dry or it can cause the vinegar to become cloudy if water is present.  If you only have a metal lid, make sure to place plastic wrap between the jar and lid.  You'll also need some kind of funnel as well.

Go to your chive flowers and pick the best ones; bees not included...


Wash your blossoms by a gentle rinse while still on the plant in early morning, then let sun dry.

Get your clean jar ready.  


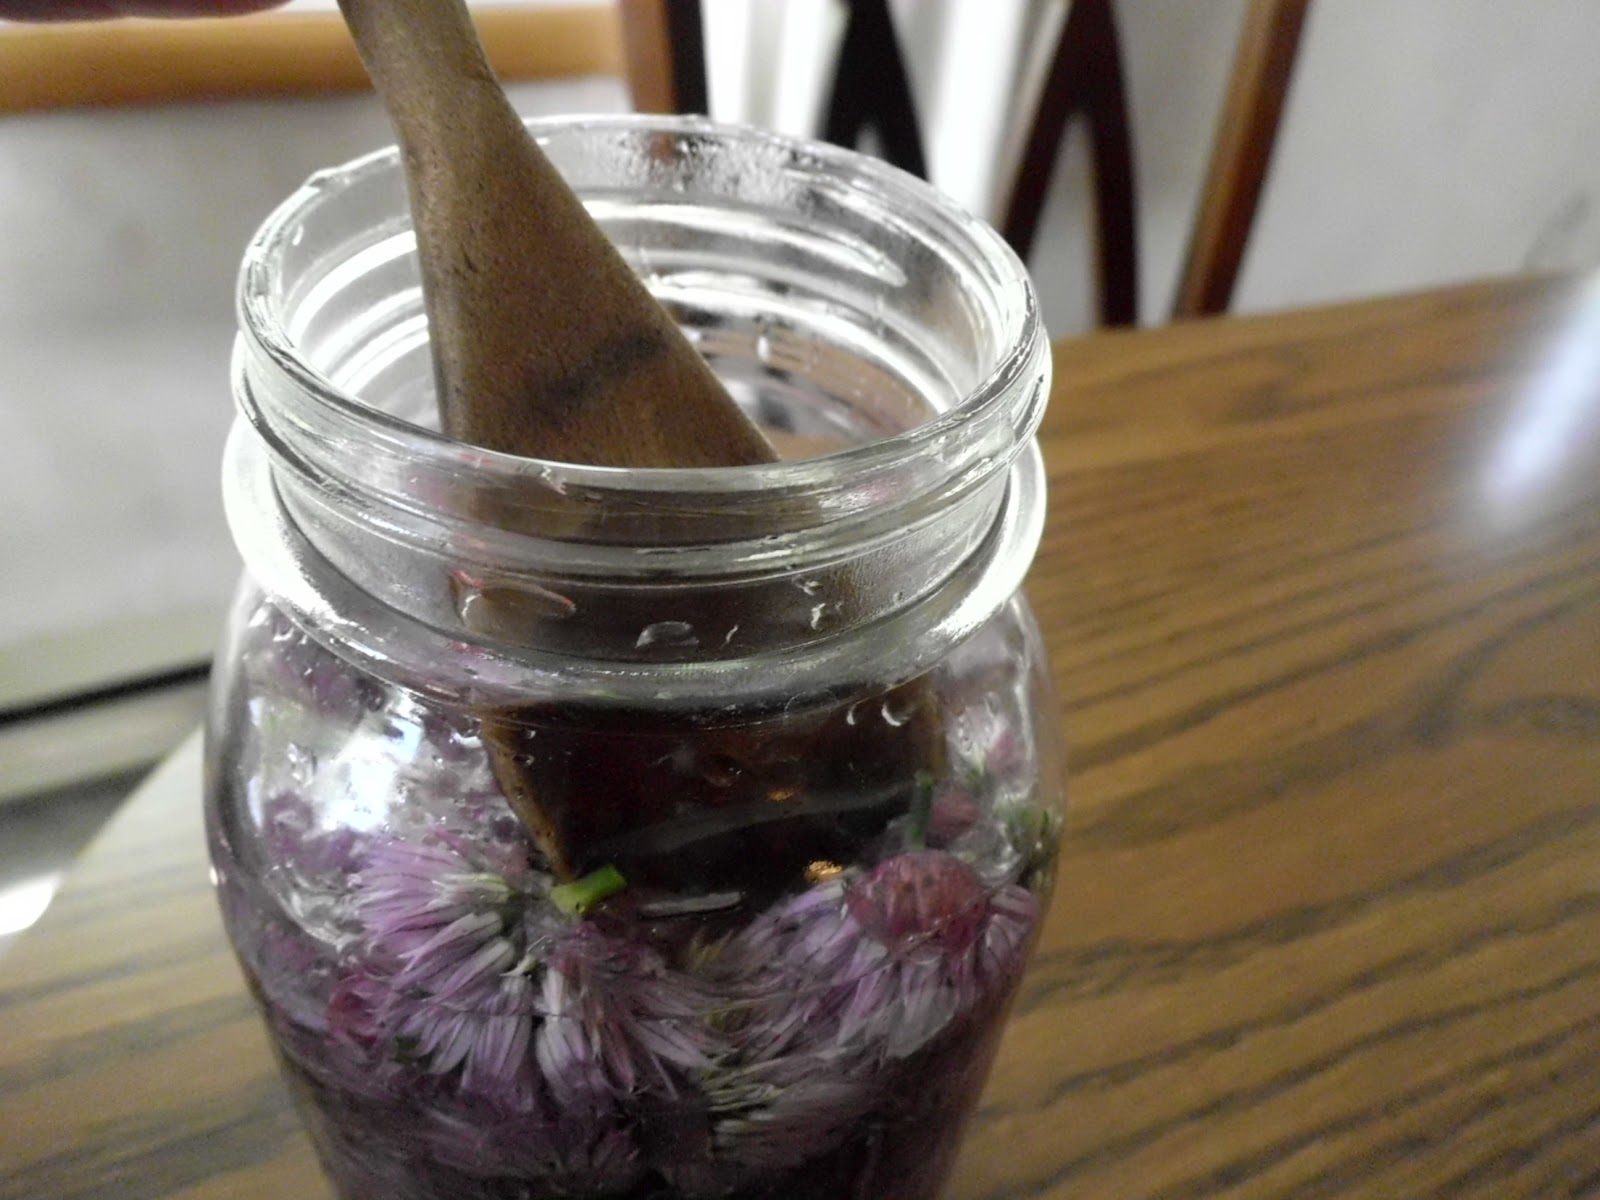
Make sure all the blossoms are covered with vinegar


  Set in a sunny place for around three weeks.  

When you are satisfied with your vinegar, strain using a small mesh strainer or try a coffee filter and insert over a large pyrex glass measuring cup.  Find a clean dry and pretty jar you like and add a few fresh chive flowers to it before adding your vinegar.  Pour in vinegar with a funnel and you have yourself a delicious herbal vinegar! This vinegar should last for at least a year and doesn't need to be refrigerated (unless you make it into a dressing.)  Check out a basic vinaigrette recipe below...

¾ cup salad oil (preferably extra virgin olive oil)
¼ cup white wine vinegar
Kosher salt and ground white pepper (or freshly ground black pepper), to taste
Opt: Add about a 1/2 tsp of Dijon mustard and 1/2-1  tsp of sugar to dressing and mix well.  The mustard helps to emulsify the dressing.


Blessings!

Linked to Frugal Days, Sustainable Ways Blog Hop , Homestead Revival Blog Hop
Waste Not, Want Not Wednesday Wildcrafting Wednesday
Farmgirl Friday

Friday, April 6, 2012

All Things New

,m,m
Forsythia

Spring is in full swing and thought I'd take some photos of some of the amazing life that is popping up around me.
First up is some gorgeous forsythia I managed to snap a photo of while on a neighborhood walk.  It blooms first and then the leaves come out later.  These are just about done blooming so I'm glad I was able to capture the intensity of the yellow flowers.  My camera battery was dead and I didn't think I was able to capture this shot.  But, somehow the picture took before the  camera shut off...yeah!


The birthing of chives

I actually got this picture a few weeks ago during that amazing warm spell we had.  I've already been able to use some of these chives on a couple of baked potatoes.  I'm looking forward to using more of them and making some chive blossom vinegar from their flowers...that'll be a later blog.
When you harvest your chives, make sure to cut from the bottom of the plant to get the whole chive.  Otherwise, they'll just be dead halfway up.  The chives will quickly put out new leaves from the area you have cut from.  
I have had these chives in a large pot by my side door for years now.  They do wonderfully in containers and I've actually re-potted them several times.  I put them in a pot right outside my side door because my other ones were planted a little further away and I was always too lazy to go get them.  Having them only a few steps away encourages my frequent use of them.


Blue Balsam Peppermint
Hands down, this Blue Balsam Peppermint variety is by far the best tasting peppermint out there.  I grabbed some starts from my sister-in-law's herb garden four hours away from here about six years ago.  Mints are some of the easiest plants to start.  I simply cut a few good sections of the stem making sure it had some root hairs coming out of it. Since I was visiting so far away, before I left, I wrapped the stems in very damp paper towels and put them in a baggie.  Five hours later, I simply placed them in water when I got home and planted in loose soil once they had rooted some more.  Wha-la!  Peppermint plants!  Not only a great plant but also a great memory of my sister-in-law and of the graduation party that day.  

This peppermint makes the world's best cup of tea and I never seem to have enough during the winter time, where it's super refreshing flavor is a wonder and comfort, especially if I or my family is suffering from a stuffy nose.  

Hope you enjoyed the photos.  On this Good Friday,  hope you're able to discover and enjoy some of the mystery and wonders of the things being birthed around you...Happy Easter to all!