Pinterest

Showing posts with label harvesting. Show all posts

Sunday, October 14, 2012

Saving Sage For Winter...

Right next to the place where I have a clothesline (free solar power!), I have an herb bed and one of the plants in it are my sage plants.  A hardy perennial, I've had these dependable plants for over 15 years.  So, considering their age, I was surprised to see how lush they were for early October. Seeing this, I knew I needed to bring some in to dry.  To be honest, I'm not very good about saving sage for winter use.  I am spoiled by its lush leaves and cold temp. hardiness and forget to put some by. Plus, I often will have useable sage leaves almost into Thanksgiving as it can withstand even some snow.  So, it's a great long season herb an indispensable  for the home landscape. I actually plant it for its flowers as well as for its use as an herb.  (The sage flowers are also edible as well.  You can use them to garnish salads or any dish for that matter.  They only bloom in the late spring.)


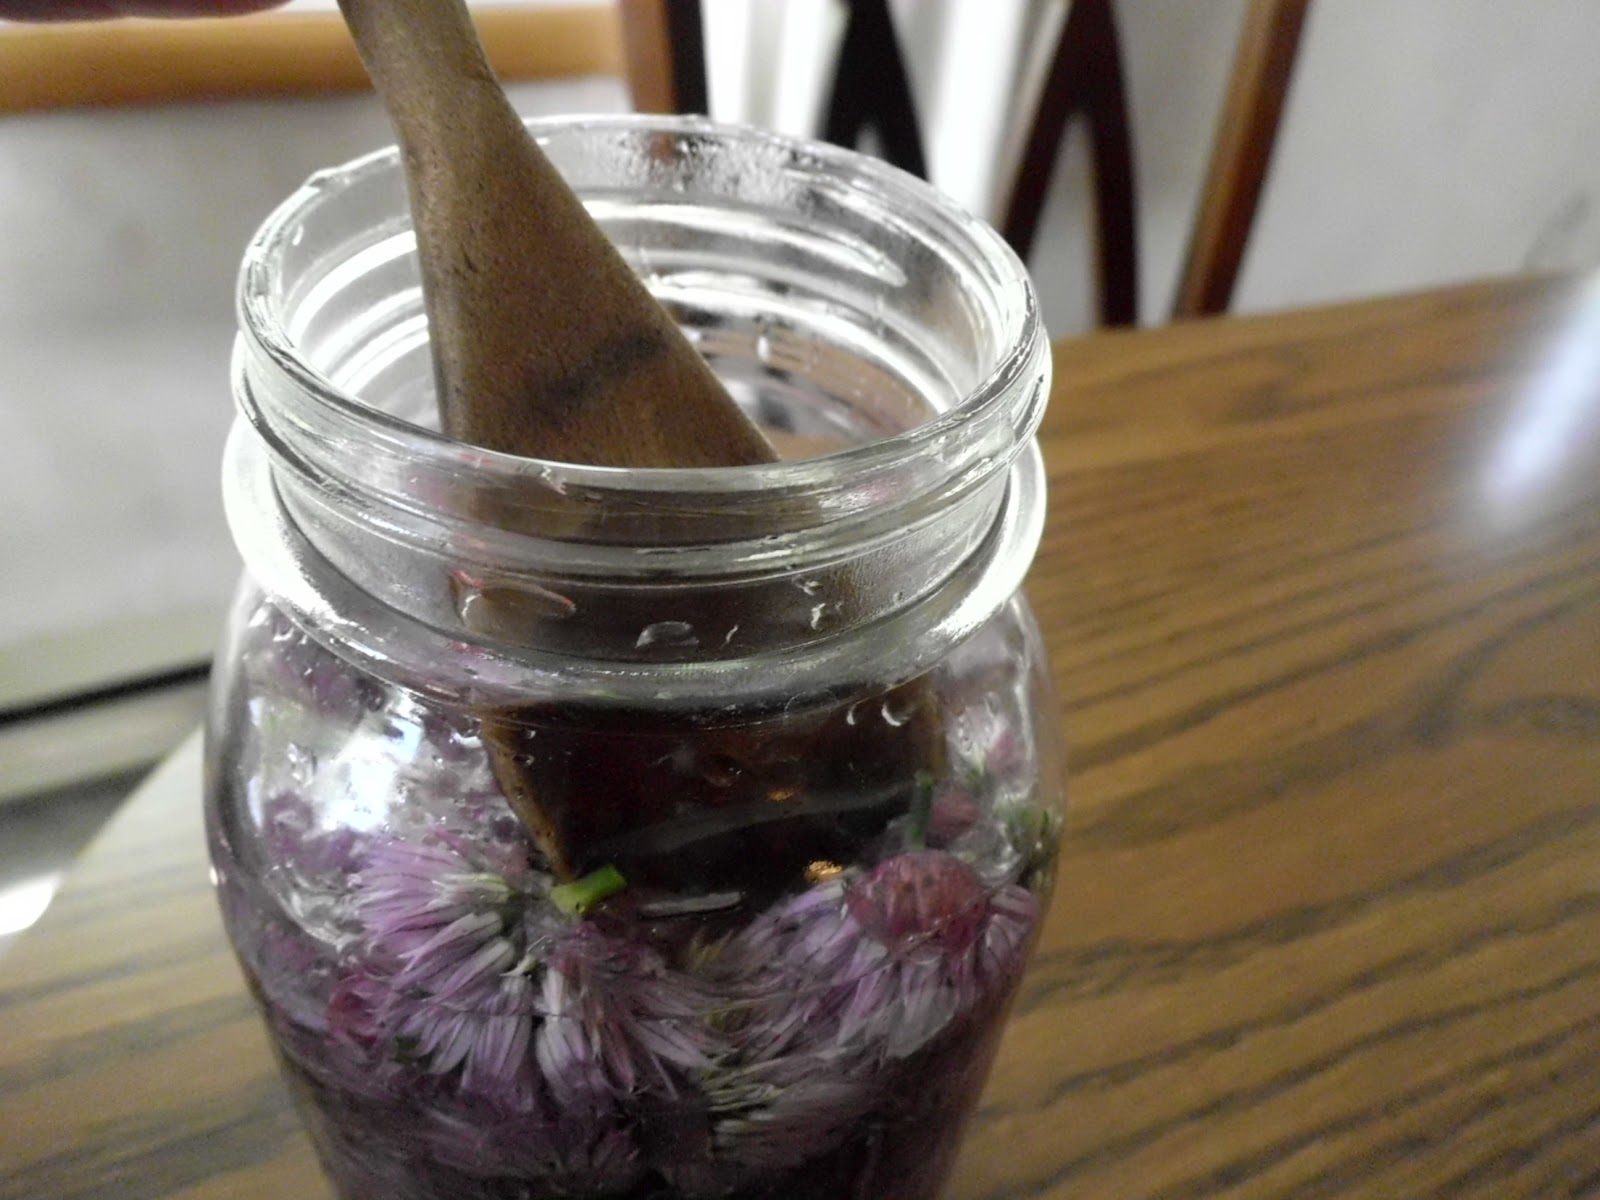
Beautiful sage flowers in the spring...
We had some friends over one time in the spring and we were looking at the sage flowers.  One of our friends asked me what the plant was and I told him "sage" and he was shocked.  He then asked, "Why do you need so much sage?  How much do you need for stuffing?"  Now it was my turn to be shocked because I answered, "Just look at how beautiful the flowers are, I grow them for flowers too!"  (I have a whole group of sage plants in a small front flower bed also.)  Herb lovers understand our unquenchable love and appreciation for the many "talents" of the herbal plant kingdom.  They are amazing, hardy, beautiful AND you can eat them...okay, I'm off my soap box. :)


 Back to harvesting...herbs are best harvested right before flowering.  During and after flowering, the plants put all their energy into flower and seed production, so the leaves aren't really the best flavored.  I trim off all the seed heads after blooming so the plants can regenerate and put on another fresh flush of leaves.  And this year was exceptional.  Our May and June were very dry, but mid-July brought back bi-weekly to weekly rains that have extended all through late summer and early fall.  This means my sage is beautiful and ready for harvest.  I would rather harvest late in the season because I won't break into the dry leaves until late November/December.  This way, the dried leaves don't sit on the shelf for as long. 


 Harvesting?  Remember, the upper leaves are the best.  They are tender, insect-free, and the best tasting.  And me having so many plants means I have a lot of sage tops to pick from.  This also keeps the plants bushy and hardy.  


 This was early on in the harvest, I actually filled my dehydrator to the max with these beautiful leaves.  No dehydrator?  No problem.  Bundle the sage with a rubber band and hang upside down in a dry warm place.  Bothered by dust?  Put them in a paper bag upside down, wrap the rubber band around the bottom of the stems and top of the paper bag and hang up to dry.  You may want to poke a few air holes to help with ventilation.  We live by a lake and it seems to be more humid in our house.  So, I invested in a really nice dehydrator.  Looking to save $$?  Check out your Goodwill stores or yard sales, one of my first dehydrators came from there...$3! If it's warm in your area when you are drying herbs, then put them on a ventilated tray/screen and place in your car in the back window.  Instant dry herbs.  My friend did this and it worked out beautifully.  


 Sage leaves have a velvety, almost papery texture, so they dry well and turn a beautiful shade of gray.  I like to store my sage leaves whole or as whole as possible.  I just take out a few as needed and powder them in my hands before using...also known as "rubbed sage."  


 They are great in soups, chicken and dumplings, any chicken marinade or meal and I use them in my Italian seasoning blend.  Overall, a great all purpose herb and one you'll find yourself running out of by winter's end.  Store in an airtight container that is not transparent or I put mine in glass jars but store them in a locker of their own that keeps them quite out of the light.  They have a long shelf life, one year is recommended, as long as they stay dry..  Try sage butter by sauteing (preferably fresh) leaves in some melted butter in a skillet, remove and pour butter over pasta and whatever else you would like to add.  Our favorite use is in our endless pots of chicken noodle soup.  Our guy's favorite soup, I make lots of pots and sage is central to the tasty broth.


Well, there ya go...Sage is saved and ready for winter!  However, I will be gathering LOTS of fresh leaves while this weather stays mild.  Maybe fresh sage for Thanksgiving this year...?!
Blessings!

What's your favorite way to use sage?

For more herb drying info, check out my post;  Ode to Drying Oregano.

LInked to these blog parties: Clever Chicks Blog Hop , Natural Living Mondays  
Hello Mondays 
Homestead Revival Barn Hop 
Living Green Tuesday Link-Up
Backyard Farming Connection Hop 
Take it From Me "Welcome Wednesdays" 
Frugal Days, Sustainable Ways 
None
Natural Living Link-Up #43 
Simple Lives Thursday 
Farm Girl Blog Fest 

Monday, June 11, 2012

An Ode to Drying Oregano...


It's the season for harvesting...yes, that's right, but we're talking herbs here.  My Oregano is getting ready to flower and I should have harvested earlier, but life gets busy. So I'm doing it now.   I try to harvest BEFORE it flowers, or I get so many new Oregano plants that they have become rather invasive.  Plus, it tastes better before the plant flowers.  So, trimming them back  is the way to produce more Oregano.  
You can purchase one of these plants at your local garden center or even Walmart has them in season.  Plant them and water well.  Give them lots of sun and let them go!  You'll love this plant and if you let it flower, the flowers are very nice too.  It's a great plant for the landscape.  Just make sure you don't plant it next to anything you may use toxic sprays on...or try not to use toxic sprays...??!!


I use Oregano for two different styles of cooking...these being Italian and Mexican.  I use it in my Italian Seasoning Mix and in my Taco Mix.  I find it adds a lot of great flavor to tacos and what-not.  Going back to the Italian side of the map, I love it on pizza and it figures greatly as the herb on them.


Harvest is simple.  Pick the uppermost tops of the plant and place them in your dehydrator trays to dry.  If you don't have one of these nifty appliances (this is my 3rd one and my favorite!) then tie the stalks by the bottoms, place them bottom side down in a paper bag and then hang the bag up until they dry.  You can also microwave dry them, see link here http://www.wikihow.com/Dry-Herbs-in-the-Microwave.

The dried stalks...
Strip the leaves gently by pulling the leaves from bottom to top.
I stripped all the Oregano leaves while reading a book on Kindle...:)

Once you are done, put your dried herb in its own container and put it in a dark cabinet to store as light can destroy its essential oils (aka: flavor.)  
I prefer Oregano dried as it's such a strong herb, but I DO use it fresh because it's handy to do so.  I also like to cook it along with dried beans to give them much more flavor.  All in all, I love this herb and I hope you do too!  Blessings!

Linked to blog parties, Off the Grid at -30,  Frugally Sustainable

Thursday, May 24, 2012

Making Chive Blossom Vinegar...


Chives are some of the easiest herbs to grow.  I have a large pot of them next to my side door and also a large planting alongside the front of our house.  They come back year after year, AND even if you never use them, the flowers they put off are worth the growing.  But, did you know you can use these beautiful globes of onion-y goodness to make a super simple salad staple?
Remember those fancy herb vinegars which were so popular some years ago?  Well, they really are so easy to make and great to use as well.  I love to make my own salad dressings and by using an herbal vinegar, I get instant flavor for my dressings. I also use these as a marinade for chicken.  Plus, these make great gift giveaways as well...just remember to include a recipe!


Here's all you need...vinegar, preferably white wine or I'm using rice vinegar here.  Wine vinegar is not harsh like plain white vinegar and makes a far superior vinegar.  If you use white wine (as opposed to red wine) vinegar, you'll end up with a beautiful shade of pink. I actually used 2 and a half bottles of this size bottle of vinegar, it will vary depending on the size of your container. So worth it.  Save the red wine vinegar for basil, oregano and thyme. 

You'll also need a clean,dry and empty jar with a plastic, non-corrosive lid. The jar needs to be super dry or it can cause the vinegar to become cloudy if water is present.  If you only have a metal lid, make sure to place plastic wrap between the jar and lid.  You'll also need some kind of funnel as well.

Go to your chive flowers and pick the best ones; bees not included...


Wash your blossoms by a gentle rinse while still on the plant in early morning, then let sun dry.

Get your clean jar ready.  


Make sure all the blossoms are covered with vinegar


  Set in a sunny place for around three weeks.  

When you are satisfied with your vinegar, strain using a small mesh strainer or try a coffee filter and insert over a large pyrex glass measuring cup.  Find a clean dry and pretty jar you like and add a few fresh chive flowers to it before adding your vinegar.  Pour in vinegar with a funnel and you have yourself a delicious herbal vinegar! This vinegar should last for at least a year and doesn't need to be refrigerated (unless you make it into a dressing.)  Check out a basic vinaigrette recipe below...

¾ cup salad oil (preferably extra virgin olive oil)
¼ cup white wine vinegar
Kosher salt and ground white pepper (or freshly ground black pepper), to taste
Opt: Add about a 1/2 tsp of Dijon mustard and 1/2-1  tsp of sugar to dressing and mix well.  The mustard helps to emulsify the dressing.


Blessings!

Linked to Frugal Days, Sustainable Ways Blog Hop , Homestead Revival Blog Hop
Waste Not, Want Not Wednesday Wildcrafting Wednesday
Farmgirl Friday