

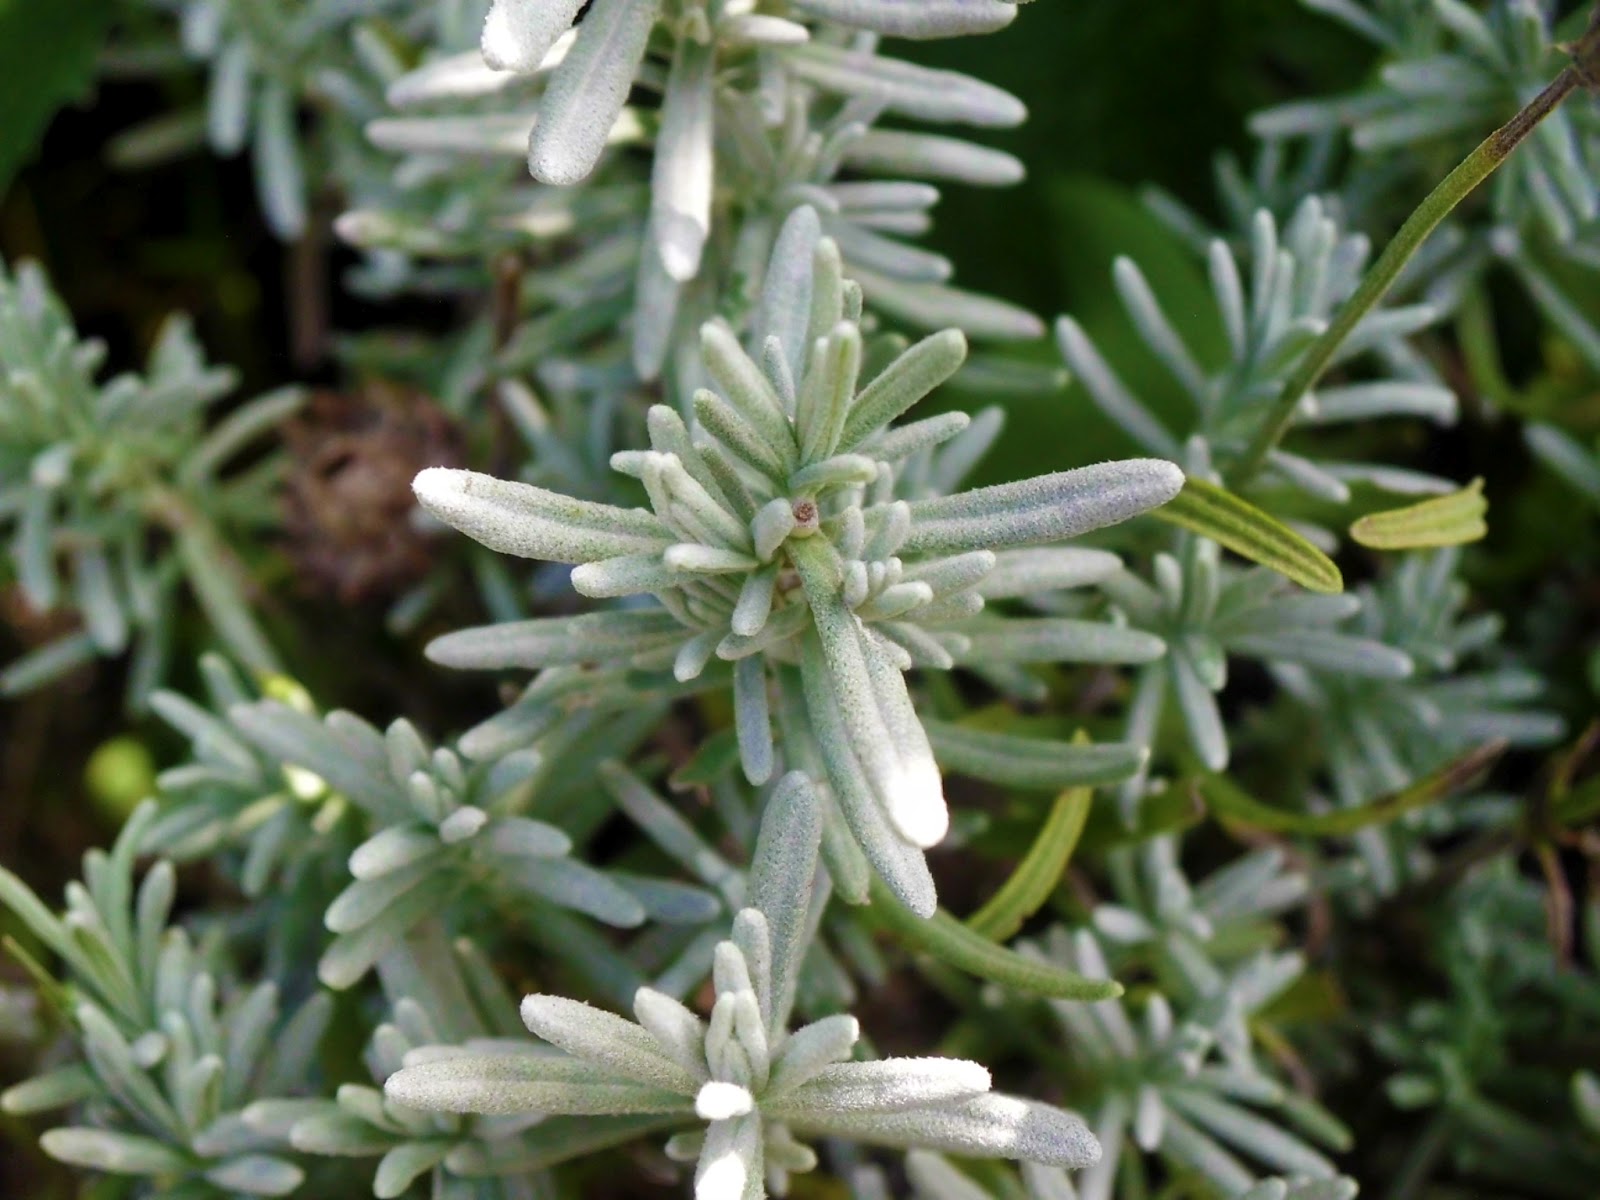
Lavender; it just isn't an herb garden, (or should I say a garden), without it. It's gorgeous gray foliage, beautiful purple blue buds and flowers and it's irresistibly delicious scent make it one garden plant that leaves you coming back for more!
 |
| Photo credit |
And that's where I come in. I have this beautiful lavender hidcote plant, (well, it WAS beautiful this past spring!) a smaller variety of lavender that makes it perfect for walkways or borders.

The problem began when its neighbors, echinacea or purple coneflower, notorious for its abundance of progeny...aka a self-sower, began to infringe upon the lavender's territory. I also planted the lavender on the side of the flower bed where it didn't get all the full sun that this Mediterranean plant really loves. SO, finding I had an open space in one of my flower beds on the south side of my house, I decided that I will transplant this little guy. But, the empty space I have is pretty big and these plants stay relatively compact, so I really need some more. But I don't want to buy them...so what to do? Make some more!
And that's why you're reading this. Luckily, it's super easy to make your own lavender plants, or thyme plants, or any woody, low growing plant for that matter. All you need is a sharp knife, a rock and with any type of gardening, patience. But I am willing to wait...no problem. This is the best kind of planting because it's so easy.
This technique is called "layering" and it's been around for a long time. This really should be done in the spring, but I'm taking my chances with the nice weather we've been having and doing this in late summer. Hopefully I'll have my little plants and be able to plant them in the spring. I would suggest at least a few good months of frost-free weather before doing this to give the new plants time to root. Otherwise, you can plan this for your spring garden.

So, first of all, locate a woody low growing branch(s) of the plant.

Take a sharp knife and nick the bark being careful not to cut all the way through the stem...

Now, if you have rooting hormone, then apply that to the cut area of the branch. I didn't have any so I just went ahead with the next step. The rooting hormone is nice insurance that the plants will root, but I've made plenty of plants without it.

This step is important, make sure the nicked part is thoroughly covered...

Find a handy large rock and place over the buried branch area. It's SO important for the branch to make good contact with the soil.

I made several of these cuttings and found another rock. So my plant looks like this with the prospective new plants on the sides.

One more close up. I made several cuttings and used one large rock to cover them all. That's it, wal-ah! Now, isn't that the easiest gardening you've ever done? I check it periodically to make sure the branch stays buried but the rest is up to time. I'll check it again late next spring. I'll know if the new plants made it by pulling on them gently and the branch doesn't move. Then you know they've formed their own roots. Then, you can cut the original branch and carefully dig out the plant and locate where you want it!
I've used this method different times, especially with thyme plants. Sometimes the plants just layer themselves and I will transplant these new little freebies to their new home. You've gotta love it and any kind of gardening that's easy is a true bonus!
So there ya go, layer your plants away and multiply your garden, make them as gifts for your friends (my plant was from a friend). Pin this article and you'll have a great technique for the spring all ready to go...blessings!!
Linked to these blog hops....Homestead Barn Hop , Tuesday's Living Green , Take-A-Look Tuesdays , Take it From Me Tuesdays , Frugal Days, Sustainable Ways , Simple Lives Thursday ,The Chicken Chick , Backyard Farming Connection Hop
My lavender produces little black seeds. Can I plant these and see if new plants form?
ReplyDeleteGrowing lavender from seeds is REALLY slow growing. It's so much easier to layer your plants and it's a guarantee that they'll grow true to the same variety with which you began. If you have a hybrid lavender, then the seeds would produce a different lavender plant. :)
DeleteMy father-in-law asked me just last week if I'd look up how to multiply his lavender plants! Perfect timing! :)
ReplyDeleteBy the way, your link from Frugally Sustainable's bloghop wouldn't work - it had an extra word on the end that I had to delete to get here. I think it said "done" or something.
Great, glad the timing was good! Thanks for the info. about the link, I will check it out and fix. Thanks!
DeleteI am kinda new to gardening (having just moved to a house with a potentially lovely garden recently). It is riddled with weeds though :(
ReplyDeleteSarah
http://acatlikecuriosity.blogspot.co.uk
Hi Sarah, just a warning...gardening is addictive! Will love to hear about your adventures with it too! Thanks for reading, will check out your blog as well! Blessings!
DeleteGreat tips - thanks for sharing. joining from Welcome Wednesday http://allthoseartsygirls.blogspot.com/
ReplyDeleteThanks for stopping by Dani, will check out your blog...blessings!
DeleteWhat a fascinating technique! Thank you for sharing. I would love it if you linked up with me on my Clever Chicks Blog Hop this week!
ReplyDeletehttp://www.the-chicken-chick.com/2012/09/clever-chicks-blog-hop-2-featured-post.html
Hope to read you there!
Cheers,
Kathy Mormino
The Chicken Chick
Thanks~will definitely stop by and link up/follow. Have a great week!
DeleteThanks for linking up Nancy, I know my followers are going to love it as much as I do!
DeleteHope to see you back next week!
Thanks Kathy! Looking forward to the next hop!
DeleteThis is something I knew and forgot! I'm definitely going to cut some of my lavender. I just started a new link up hop and would love you to join: http://www.simplejoyfulliving.com/2012/10/backyard-farming-connection-hop-2.html
ReplyDeleteThanks for the invite! I will definitely check it out...!
DeleteThanks for linking up this week at the Backyard Farming Connection Hop – hope to see you next week :)
DeleteThanks for hosting the hop! Have a great week!
DeleteWow, I had no idea this was possible! I have some thyme that I need to try this with. Thanks for the tutorial. You made it look so easy!
ReplyDeleteThanks. It was super simple and I found this on another site originally, listed on the post. I was super impressed when my teen and husband (very skeptical) thought it was amazing...I just had to share! Hope you like it!
DeleteHi Nancy!
ReplyDeleteYou are one of this week's Featured blogs at the Clever Chicks Blog Hop!
Please feel free to grab my Featured button and link up with us again this week! http://www.the-chicken-chick.com/2012/10/upcycled-chicken-coop-clever-chicks.html
Cheers,
Kathy Shea Mormino
The Chicken Chick
That's great! Thanks much! I will make sure to add your button to my page...thanks again!
DeleteI had no idea you could do this! Thanks for sharing this great tip! I learned something new today! :)
ReplyDeletexoxo laurie
Hope you're able to make many plants for your garden! Thanks for stopping by! :)
Delete